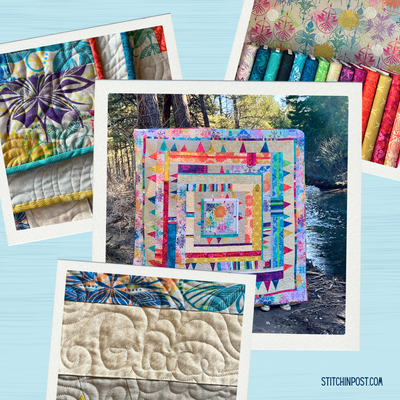
Big Island Pillows - Raw Edge Applique
Inspired by Hawaiian quilts, this pillow uses a raw edge appliqué and cross hatch machine quilting for a modern twist instead of the traditional hand appliqué and quilting.
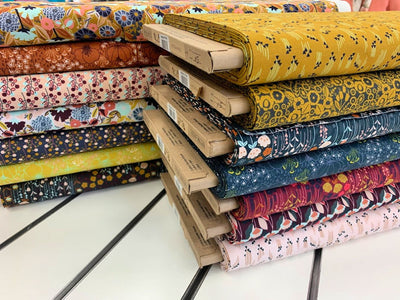
For this project you will need Blue fabric, a text fabric, Fusible batting, HeatnBond or your choice of fusible web, 2 - 18" square pillow inserts and a water soluble pen.
For our pillow we chose a denim for our blue and text print by Moda. And to put a ext rat spin on it, we used our denim for the backing of the pillow instead of the text.
To get started you will need to fold the HeatnBond into quarters and use the template from the book to trace onto each quadrant.
We cut out around the tracing Iron the HeatnBond fusible side down on the wrong side of your blue fabric, press to adhere. Then carefully cut out the appliqué along the drawn line. if you are looking for a great pair of scissors that can get in the small valleys and around curves, we recommend using Kia scissors. They stay sharp and cut like butter.
Using a water-soluble pen, draw a diagonal line from corner to corner on the right side of the text fabric square to create an "X". Remove the paper from the appliqué and align the center of the longest leaves of the appliqué with the diagonal lines on the text fabric. Iron the appliqué onto the text background.
Fuse your fusible bating to the wrong side of your text square. we also used a muslin on the back of our batting to sandwich the pillow op for quilting ease. To get the diagonal cross hatch grid quilted on, we used a painters tape, about 3/4" wide to give us a line to follow.
Continue Quilting until the entire top is finished.
To finish the pillow, make a double hem on one long side of the back panel rectangles, press and top stitch the folded edge. Right sides together, align one panel with the pillow top with the raw edge.
Align the other panel along the bottom edge of the pillow top right side together. This will have our panels overlapping at the hemmed edges and will be offset in the center. Pin all around the edges and sew a 1/4" seam. Clip away the Corner points, turn pillow sleeve inside out, and place an 18" pillow form inside.
If you would like to purchase this book and the rest visit www.stitchinpost.com
Keep an eye out in February for the Simply Color RED project and more!
Happy Quilting!