English Paper-Piecing Tutorial
This week in our classroom, Jackie kicked off our Hexa-Mania series with a technique class on English Paper-Piecing. Because hexagon quilts are all the rage this season, we wanted to share this VERY simple and traditional way to piece together hexagons. Here is what you will need:
- Hexagon-shaped paper templates (we carry 3/4", 1" and 1 1/4" templates)
- Needles (Jackie recommends Piecemakers Embroidery Needles size 8)
- Neutral-colored thread
- and of course fabric!
Click here for one stop shopping!
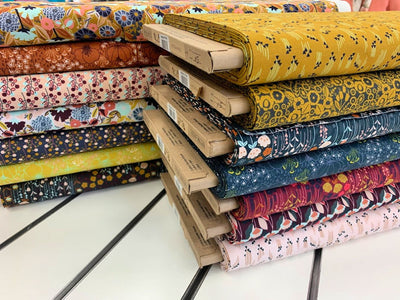
To make fabric selection very simple, Jackie has cut "Hexagon Starter Squares"~ fabric cut in squares appropriately sized just for this project! Each kit contains 100 squares (four each of 25 different fabrics) available in two sizes. The small 2 1/2" squares work with the 3/4" and 1" hexagon templates and the large 3 1/2" squares work with the 1 1/4" hexagon templates. There are three varieties available: Kaffe, dots and reproduction.
Let's begin! Just a reminder...this is about the technique, not the manicure or lack thereof!
Put a small dot of fabric glue in the center of the hexagon template. Center the template on the wrong side of fabric.
Just a small dot of glue is sufficient, eventually you want to be able to remove the paper template away from the fabric. Keep in mind, the templates are actually a light weight cardstock, but I will refer to them as paper.
Trim your fabric to approximately 1/4" away from the edges of the hexagon template. This does not have to be a perfect 1/4"...it will be okay, if the cuts are not perfectly straight! Just make sure you leave yourself enough fabric to fold over the edge of the template and baste it down.
Fold the fabric over the first edge of the hexagon template. You will baste the fabric in place, sewing right through the paper template. Use an easy-to-see color of thread, because these stitches will eventually be removed.
As you approach the first corner, fold over side two of your fabric. Continue basting through the fabric and paper template. Keep working your way around the template in this manner until all six sides are complete. Use a simple knot to hold basting stitches in place.
Continue making hexagons in your spare time and keep them together in a baggie or project box. *This is a fantastic project for road trips, as the supplies are limited and take up very little space.
We will now move on to connecting hexagons together!
Match up two hexagons with right sides together. This time you want to use a thread color that is neutral and works well with the combination of fabrics. You are going to sew the two hexagons together using tiny whip stitches. With your needle, take a tiny bite of both fabrics, being careful NOT to catch the paper template in your whip stitches. Catching the template in your whip stitching will make it more difficult to remove the paper template down the road. Tie off with a secure knot.
You may now open up your hexagons and admire your work! The tiny stitches should barely show. I know you want to remove the paper templates, but don't do it! It is too soon...be patient!
Let's continue building onto our hexagon unit.
As you add another hexagon to the already sewn unit of two, you may need to lightly fold the hexagon, in order to get into the "valleys" of the already sewn units. It is okay to fold the paper templates.
Continue adding more hexagons.
As it begins to grow, this is what the back of your hexagon quilt looks like. The blue hexagon is ready to have the paper template removed. As you can see, the blue hexagon is completely surrounded by finished hexagons, therefore you can now remove the paper from the blue hexagon only.
Carefully remove the basting stiches from the fully surrounded hexagon only.
Now flip your quilt over to see the paper templates on the backside. Reach under the seam allowance of the fabric and grab the edge of the paper template. Gently pull the paper out. It will come loose very easily, unless you used too much basting glue or accidentally caught the paper in your whip stitches.
Don't remove the paper templates too soon. You need to wait until the hexagon is completely surrounded on all sides by other hexagons, before removing the paper. That's it!
I was pleasantly surprised at how easy this technique is. I hope you will give it a try, as there are so many great projects using hexagons. Stay tuned to our blog for information about an upcoming Hexa-Mania Contest. Happy Hexing!
~Tamra