

One Pattern in Four Color Palettes with Jean Wells

The ever popular Running Wild table runner is the perfect project to hone your skills at choosing fabrics for a project. I have made over a dozen of these runners and everyone of them has its’ own personality. I am going to share my experiences with you in hopes that it will shed light on this part of the design process.

I happened to be at a quilting retreat with Tonye Phillips when she began this runner. She literally had a bag of scraps that she had tossed 4 ½” squares into. Tonye began by pulling out five squares and putting them into a row... I could see a wide variety of prints and colors. I am always amazed at Tonye’s choices of prints and how they play together. Take a look at the variety of textures as well as colors in this runner. What I feel makes this idea work is that the blocks are all the same size so that is a bit of repetition. Then the applique’ circles that are added randomly really pull the eye around the design.

When I returned home from the retreat, I was anxious to begin my own runner. As I looked at my scraps I saw a bag of hand dyed fabrics in a blue and green river like palette, so I cut the 4 ½” squares and began the process. The limited colors in the palette gave the design its’ own personality. A variety of textures are evident. The personality is completely different.
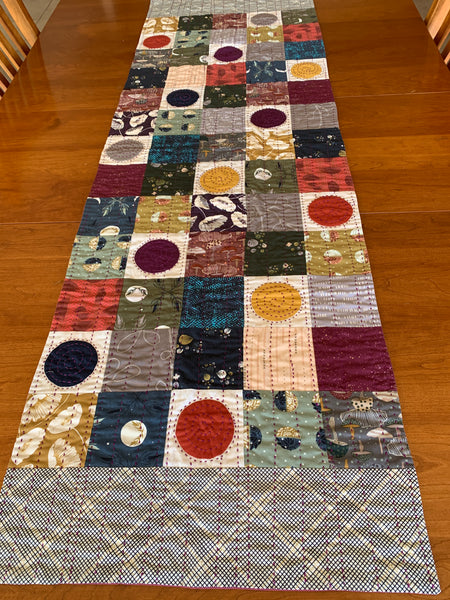

When fall rolled around I was really taken with three lines of new fabric that had similar colors, and came up with this design. Look at it closely, there are several different designers represented here but the colors unite the theme. I think, the variety of textures adds to the personality of the runner. It has a seasonal look to it.
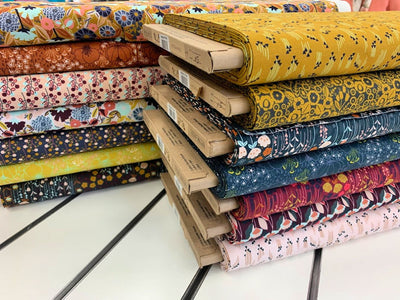
When I get ready to plan a Running Wild runner kit for the store I begin by looking for fabrics that are unique in some way and begin to collect any bolt that might work with them. It is always easier to eliminate than to find just one or two more perfect ones.

I settled on these two larger scale prints to work from. I wanted to work out a new formula and use more of a couple of prints in the design.


My idea was to look at the possibilities present in larger scale prints by cutting several blocks. I liked the options and felt like it would work. Then I went back to the stacks of bolts I had collected to see what colors were needed as well as how adding variety by changing up the scale of the prints might work. You will see small grid like patterns as well as the two color floral patterns. The variety in this group spoke to me.

Laying out the squares is where the magic begins to happen. If you have a design wall that works well, but you can also lay them out on the dining room table or floor. I like to get everything laid out before I begin to sew the blocks together to see how they are going to interact with each other.

I want to share two different ways of preparing the circle appliques. Tonye loves the Perfect Circles methods by Karen Kay Buckley. In this method you trace the plastic circle template on the wrong side of the fabric. Then cut an ample ¼” seam allowance beyond the traced circle. Hand baste a running stitch around the edge in the seam allowance. Place the template on the fabric and draw up the ends of the basting thread and tie together. Using Flatter or spray starch, spray around the turned under edge. Use the tip of the iron to press the edges under. Lightly bend the template and pull it out.


The second method is a pillowcase turn. Trace the circle on the wrong side of the fabric. Cut out two circles and place them right sides together. Pin together. Trim around the edge leaving a ¼” seam allowance. Stitch on the traced line. Slit the back of one of the circles. Using a point turner or a blunt pencil turn the circle to the right side. Push out the edges. Using Flatter spray the edges and press. It is now ready to applique’ in place on the square.


We made a video tutorial of how to make both type of circles. Try them both and pick your favorite method.
I decided to use two fabrics, instead of one, in the borders at the ends of the runner. I inserted a narrow 1” (finished ½”), then I added the wider border. The last decision to make is to choose thread to do the Kantha stitching to hold the layers of the runner together. I choose a deep burgundy size 8 cotton pearl thread that would accent all the prints.
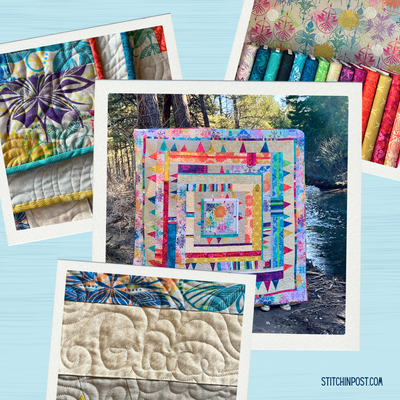
We have kits available for my new Spice Box Running Wild table runner here.





Love it all. The fabrics, colours and circles, and that it is a smallish project. I get bored with big quilts after awhile. Do you have any of the kits for this table runner available for purchase? Thank you.
I made this but found the hand stitching very difficult. I would like some instruction on how you did it. The fabric felt too stiff and my needle didn’t glide through the fabric easily.
I love the fabrics you’ve chosen, Jean. I bought the original Tonye Phillip’s Running Wild kit from you recently and it’s beautiful. I’d like to make more runners in the colors you’ve chosen and shown in this email and I hope you’ll offer similar colors in kit form.
I’m at the point in my life where kits are the perfect solution to my need to stitch without my having to inventory more fabric than I already have. All of your kits are wonderful to receive, stitch and then give as gifts.
Thank you for your creativity, retail shop and sharing with the public.
I just love these! Thank you for the inspiration and the tips on making circles!
Leave a comment