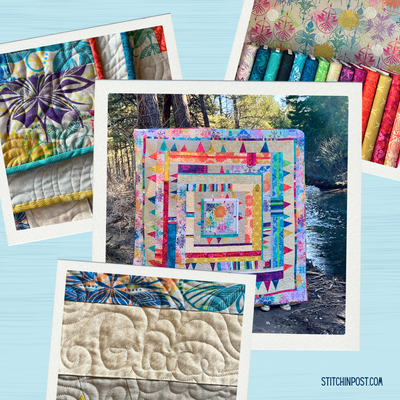
Pumpkin Pincushions
Pumpkin spice is ubiquitous this time of year. While I'm not a fan of pumpkin in my coffee, I do love pumpkin baked goods, and I love these pumpkin pincushions.
These little cuties are faster than carving and you can use them year after year. Add some pumpkins to your Halloween, Thanksgiving, or fall décor. You could even make one for it's original purpose, holding pins. I ended up having so much fun I made seven of them.
I made the pumpkins using Valori's Pincushions pattern with a couple modifications.
I created four sizes of pumpkins. The two smallest use the template provided in the pattern. I traced a couple large bowls from my kitchen for the bigger sizes. You could also use a compass to draw your circle.
When stuffing my pumpkins, I added rice to the bottom for weight and stability before adding the fiber-fill. You could use beans or buckwheat hulls as well.
After I stitched shut the pumpkin top, I chose not to section the base with embroidery thread. You certainly can, but I like them as is.
The last modification is the biggest, and what transforms them from the original tomatoes to pumpkins; I added a wool felt stem and leaves. I chose wool felt so I could fray the edges (pic 2), but you could use craft felt, fleece or heavy flannel for a similar look.
I free-form cut my leaf template from card stock, and then used the template to cut my leaves (pic 1) from a variety of browns and oranges. If you don't want to draw your own template, try tracing a leaf (real or in print) or look for clip art that you can print onto cardstock.
Once you have a leaf you like, tack it to the top of your pumpkin with a couple stitches (pic 3). You will finish securing it at the same time you add the stem.
To make the stem I cut my felt into a rough rectangle. At one corner fold in a small triangle of fabric and turn the point to the inside of the fabric then tack down. Next, fold until the two edges meet (pic 1 below), then use your thumb inside the cone you created to shape the stem as you hand stitch it closed (pic 2 below). Once your stem is stitched, trim the bottom into a curve and attach it and the leaf to top of pumpkin (pic 3 below).
I'm adding mine, with some candles and our metal pinecone candle holder, to my table for Thanksgiving. It will be the perfect way to dress up my plain table cloth.
To make your own pumpkins you'll need:
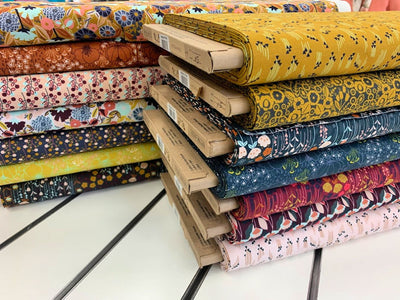
- Mix of orange fabrics (our pumpkin patch fat quarter bundle will make a whole patch of pumpkins)
- Wool felt for stem and leaves
- Needle and coordinating thread
- Fiber-fill and beans/rice for stuffing pumpkins
- Pincushion pattern
If you buy one of our pumpkin patch fat quarter bundles we will include a free pincushion pattern!
Cheers,
Samantha