Star Student Zipper Bag
Happy Spring! With April here and the sun shining more and more, we are so glad to get to the month of YELLOW. We all know a little yellow goes a long way but you really can never have too much of a good thing. And who can ever have too many bags? That's why this month from the Simply Color Book, YELLOW, we chose to make the Star Student Zipper Bag.
In the store we are also having a month long special on anything yellow! 15% off merchandise with yellow on it.
For this project, you will need an assortment of 23 - 3-1/2" x 3-1/2" yellow prints, fabric for lining, a dark text fabric for the star, fusible batting, fusible tape or a fabric glue pen, 12" zipper, a walking foot and zipper foot.
Lay out a 9 -patch of 8 yellow squares and one black square in the center. Lay the cut out triangles face down onto of the four surrounding yellow squares. This will be a wonky star so there is no need to have every point perfect.
Stitch the triangles to the yellow squares then trim away the extra elbow fabric and press the seam toward the black fabric.
Your blocks should look like this. Once the first triangles have been sewn, repeat the steps for the opposite sides of the same yellow squares to create 4 star point squares.
Sew the squares together to create the 3 rows. Press the seams open. Sew on the last row of yellow squares to the right side(or whichever you'd like) to get a 9-1/2" x 12-1/2" panel for the front of the bag. Sew together another set of 12 yellow squares for the back panel of the bag.
Iron the fusible batting to the wrong side of the outside panels.
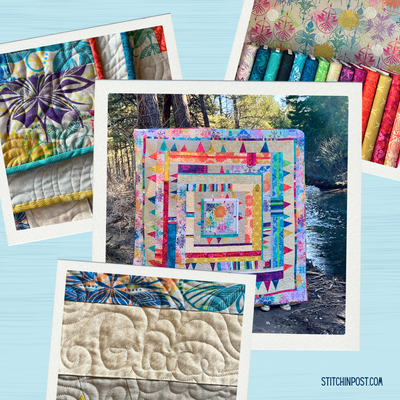
Quilt your design choice onto the outside panels. We quilted a diagonal square design on our sample.
(Note, do not use a Chaco Liner on the Right Side of the fabric. It may not come out. OOPS!)
To attach the zipper, fold your cut black fabric in half long ways, press and set aside. These are the tabs. Centering the front panel along the zipper tape, mark and place fusible tape on zipper about 1" from each side edge of the bag ends. Center the folded tabs on the zipper ends with the folded edge facing towards the zipper. Press tabs onto the zipper tape to secure in place.
Sew the tabs onto both sides of the zipper tape as close to the folded edge as possible. Then trim away the excess zipper under the tab. Place fusible tape or glue on the right side of outer edge on one side of the zipper.
Layer the front panel; right side up, zipper; facing down, and lining panel; wrong side up, then press along the zipper edge so the fusible tape will ad-here to the front panel. Sew together along the zipper edge, lining up the outer part of your zipper foot to the edge of the fabric.
Fold front panel so it is right side up, then press. Top stitch on the pressed edge as close to seam as possible. Repeat on opposite side of the zipper with back panel.
To sew the bag together, unzip the bag about halfway. Flip the back and front panel on one side of zipper, and the lining fabric to the other side (right side together). Starting at the middle bottom of the lining, stitch a 1/4" seam allowance until about a 1/4" away from the tabs, back stitch a few stitches and continue to stitch over the zipper. Back stitch again and continue on to the front and back panels stitching around the bag. Stop stitching about 3" away from where you started to leave an opening at the bottom of the bag.
Trim excess tab fabric to align with raw edges of the sides of the bag. With the bag still wrong side out, pinch corner of lining panel and position bag sideways so seam of lining is centered and forming a point (as shown). Mark 1" down from point with water soluble pen and sew on the drawn line. Cut away point leaving 1/4" seam. Repeat on the 3 other corners of the bag.
Turn bag inside out, pushing in the corners. Hand-sew the lining closed then push the lining into bag and press. To secure the lining to the inside of panels, hand sew a few tacking stitches to secure in place.
Now fill with whatever you desire!
To get the full instructions for this bag and more projects made in yellow, check out the Simply Colored YELLOW Book, and more from Lucky Spools. And for the month of April, don't forget this and other merchandise with the color yellow on it are 15% off!
Have a Very Sunny April and Happy Sewing!